How to Perfect Long Hair for the Ring
How to Perfect Long Hair for the Ring
Equetech | April 18 2019If you aren't lucky enough to have a groom/friend/long suffering partner or parent to help you get yourself and your horse ready for an event, you will probably spend more time making sure your horse looks fabulous leaving little time for yourself. In this equestrian blog, we share our tips for transforming long hair into a quick and tidy bun for the show ring or competition arena.
Having arrived at the event, tacked up and added the finishing touches to your horse, time has in all probability run away with you, unless you are one of life's highly organised people. So, you throw on your hopefully clean competition clothes and hastily tie your hair in a ponytail and add a hair net. You will then cram your hat on and hope that your hair is neatly confined in your hairnet and stays confined for the duration required. Sadly, hair does seem to have a life of its own, certainly does not like the restrictions imposed upon it by hair bands and hair nets and simply loves to escape these bonds. This of course ruins the immaculate picture you were hoping for.
So, how do you perfect your hair for the ring and do so quickly? Here are a couple of quick and easy hair styles to complete your perfect well turned out image.
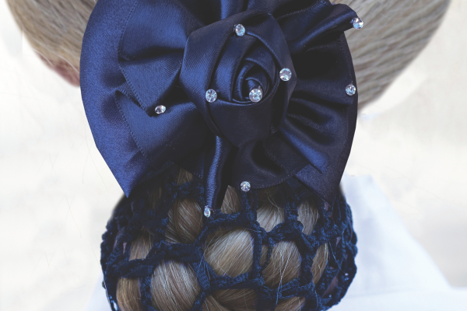
Two Easy And Quick Styles
Junior classes; hair always looks neat styled in a French plait with the long plait turned under and up and secured with hairspray and either a scrunchie or ribbon matching or toning with the riding jacket. Likewise, plaited side bunches again either secured with matching scrunchies or ribbons always look cute.
Adult classes; there are several neat hairstyles for longer hair but the bun is the easiest giving a clean and sophisticated look. You can opt for a bit of texture with a plaited bun or for a classic chic, sleek bun. For the plaited bun you will need hairspray, bobby pins and mini hair bands.
Step 1: Gather your hair into a low ponytail at the nape of your neck and secure it with a hair band.
Step 2: Braid the ponytail into a three-strand braid.
Step 3: Secure the end of the braid with a mini hair band.
Step 4: Wrap the braid around the base of the ponytail until it forms a bun. Pin the braided bun in place with as many bobby pins as you need.
Step 5: Add a bun net/scrunchie
For the classic chic, sleek bun, again you will need those essential bobby pins and mini hair bands.
Step 1: To prevent your low bun from loosening tie your hair in two separate ponytails first.
Step 2: Tie the pigtails as close together as possible in the middle of the back of your head.
Step 3: Wrap the ends around each other, creating the bun. Secure with bobby pins.
Step 4: Add a bun net/scrunchie